
Let’s be honest — your audience scrolls fast. If your brand Reels don’t grab their attention in the first three seconds, they’re gone. That’s why plain, one-take videos don’t cut it anymore. You’ve got to split, trim, layer, and design every frame like it’s your shop window.
The best brands know how to stack visual tricks — think split screens, text overlays, subtle motion effects, and dynamic transitions — to make even the simplest clips feel bigger, bolder, and more scroll-stopping.
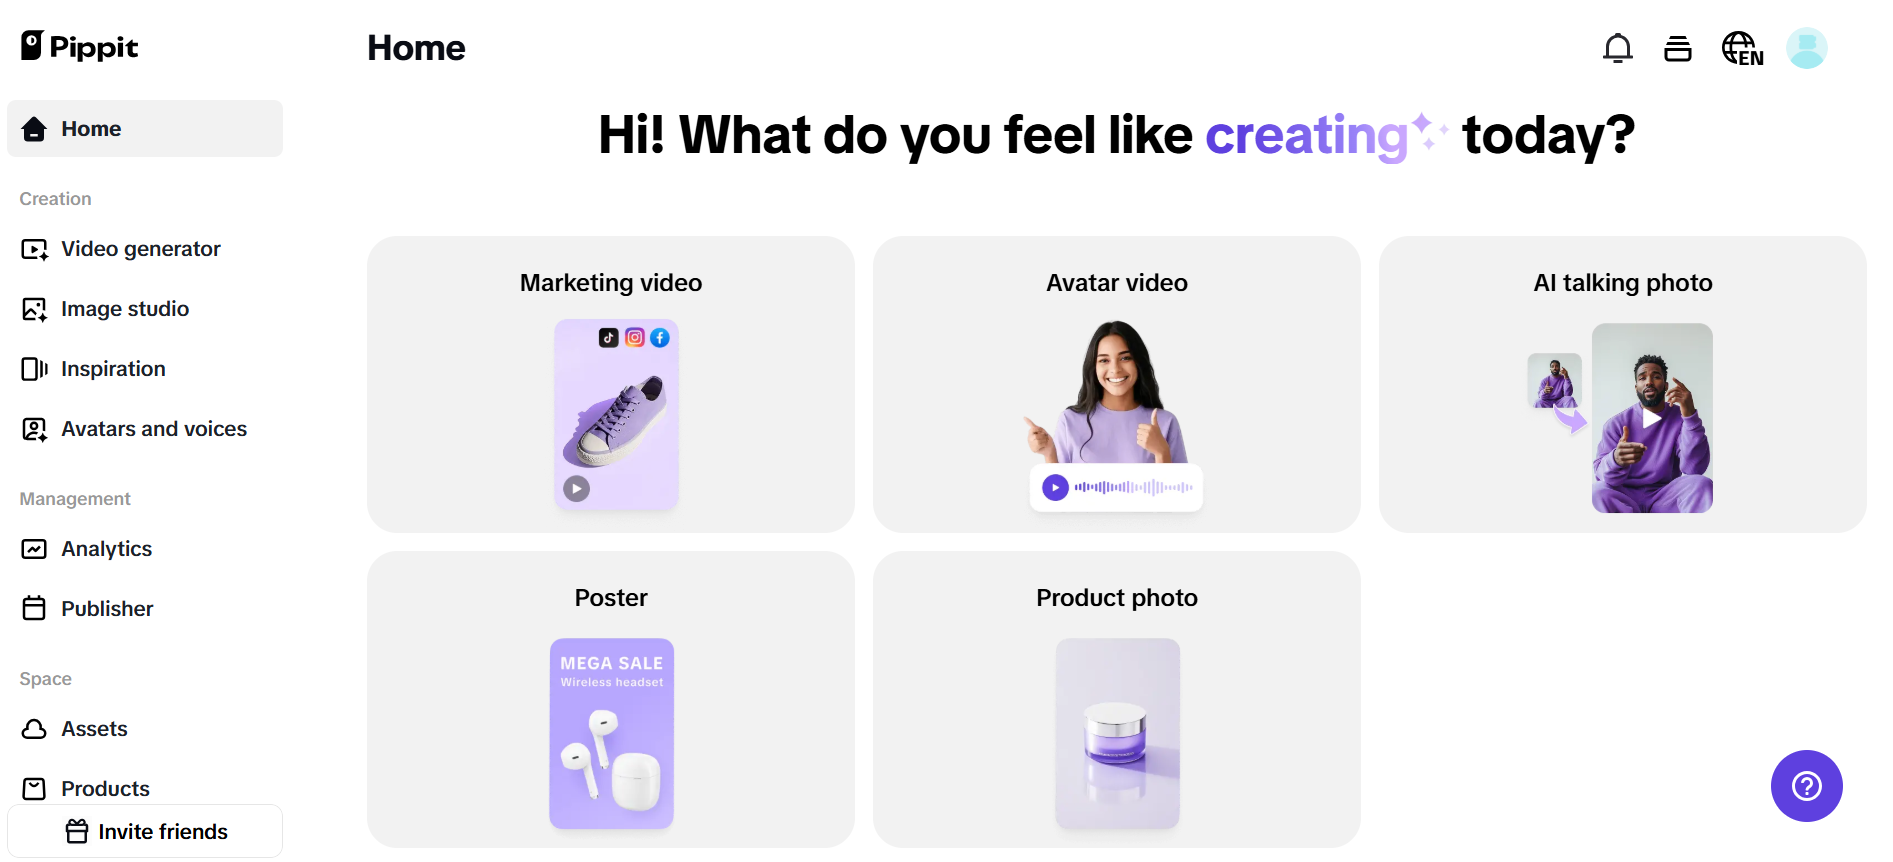
And here’s the good news: you don’t need a fancy production crew to do it. With an AI video editor like Pippit, you can transform raw clips into pro-looking Reels in minutes.
The power of layers: how overlays and split screens help you stand out
What distinguishes your reel from the hundreds of others your followers see each day? The layers are the problem. Using split screens, overlays, and creative transitions allows you to:
- Present more information in less time: Your product and the response can be seen simultaneously on a split screen.
- Maintain eye movement: People tend to stay longer when they have multiple areas of concentration.
- Use visuals to tell a story: UGC, testimonials, and before/after photos may all be layered to create a unified look.
- Complementary trends: Kinetic edits mimic the style of well-liked reels and shorts.
Keep in mind that people enjoy learning about the “behind the scenes.” Splitting screens to show process and result is a storytelling trick that works for anything — hair, makeup, food, design, fitness, you name it.
Start with raw cuts: why trimming sets the stage
Before you go wild with overlays and transitions, get your base edit tight. This is where Pippit’s video cutter becomes your best friend.
Think of it like chiseling a sculpture:
- Chop out awkward pauses, stumbles, and dead air.
- Keep only the punchiest lines or visuals.
- Don’t be afraid to split scenes up — multiple short segments feel more dynamic than one long ramble.
Once your clips are lean, they’re ready for split screens and layers to shine.
The power of split screens: show it all in one frame
Split screens are one of the easiest ways to add depth. Some creative ideas:
Before/after transformation
If you’re in beauty, fitness, or interior design, a simple side-by-side can tell a powerful story in a blink.
Product + reaction
Selling a product? Put the demo on one side and a real customer reaction on the other. Authentic emotion sells.
UGC mashup
Got multiple customers praising you? Stack them in a grid to show you’re the real deal.
Don’t worry if your clips have different aspect ratios — Pippit’s split screen tools auto-fit them so they look intentional and clean.
Overlay layering: forms, text, and more
Never undervalue the power of a few stickers and text boxes. An elegant overlay:
- Strengthens your point: Include hashtags, captions, or callouts.
- Guides the gaze: Shapes, circles, or arrows indicate what is important.
- It feels branded: Don’t change the fonts or colours you use.
Let’s take the example of a skincare company. Over your product photo, place ingredient callouts. Or, if you’re a coach, underline important phrases or instructions as you talk.
Micro-transitions: a final glue job
After cutting, dividing, and layering, finish it off with:
- Seamless transitions: The transition from one intense moment to the next is known as a smash cut.
- Zooms: To highlight a detail, punch in. Fades: Excellent for testimonials or more subdued moods.
The goal? Keep the pace up, match the vibe of your audio, and never let your audience get bored.
Let’s see it in action: split, trim, layer
Here’s how to pull off this magic inside Pippit with your trimmed clips ready to go:
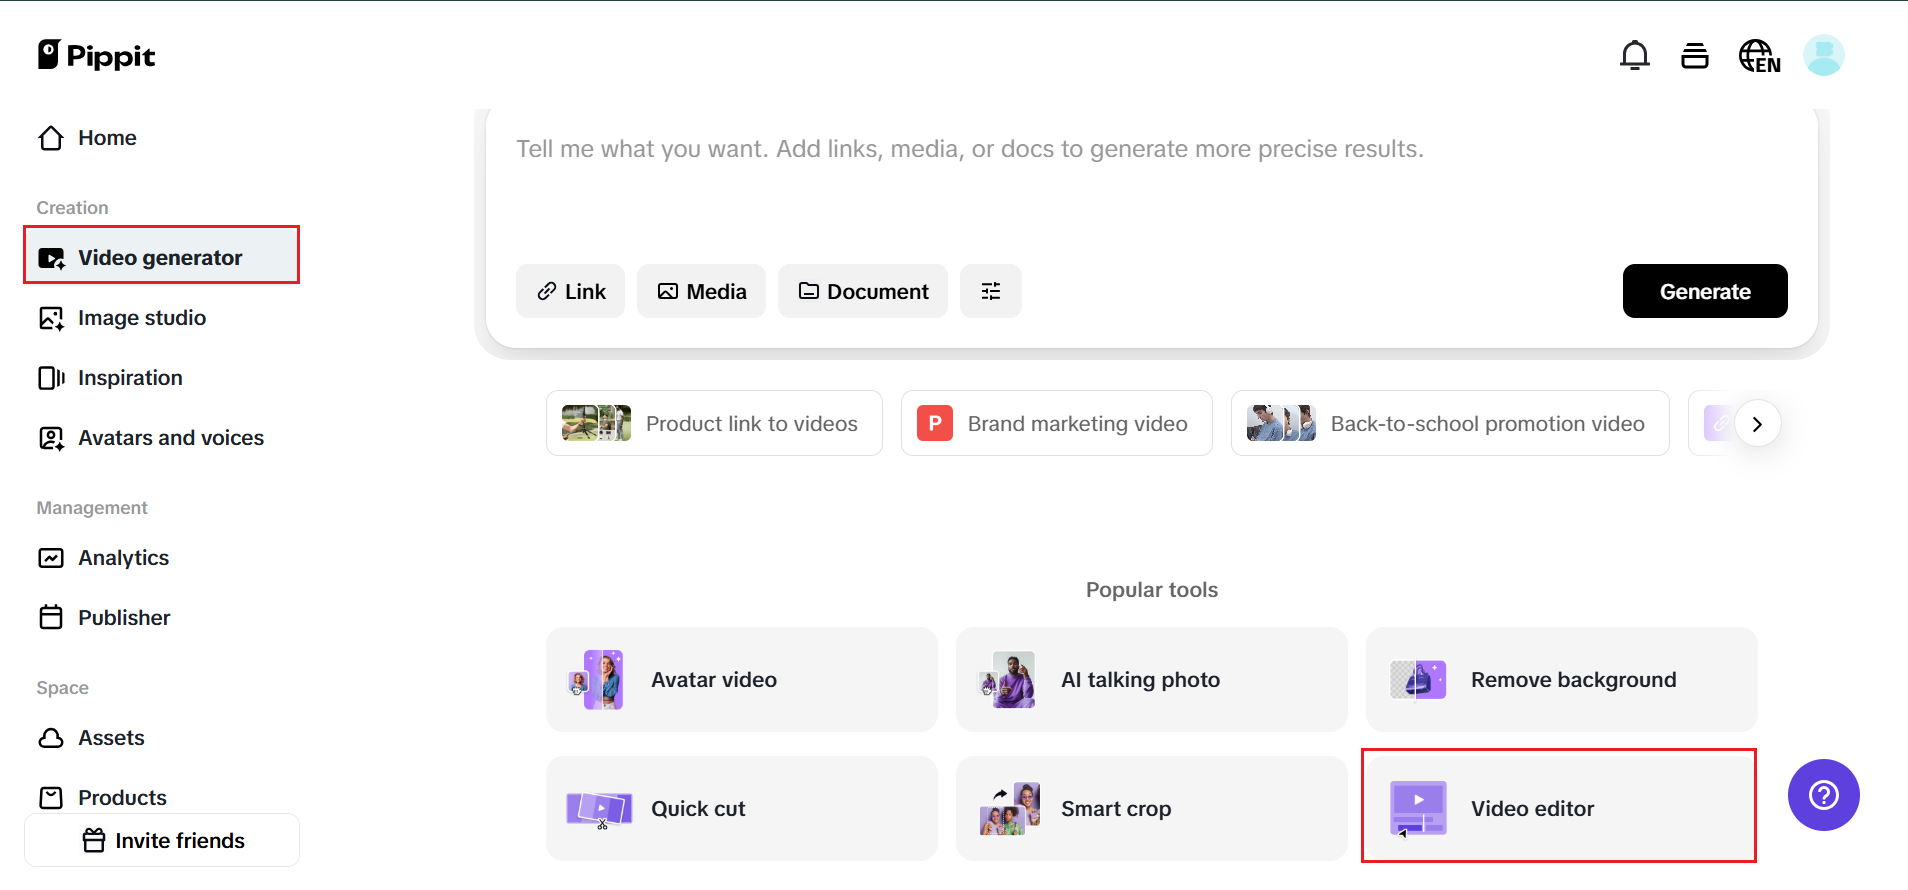
Step 1: Go to the video editor
To access Pippit’s dashboard, first register. Then, pick ‘Video generator‘ from the menu on the left, and finally ‘Video editor.’ To import and trim the video, click ‘Click to upload’. Alternatively, you may drag and drop the movie into the editing interface.
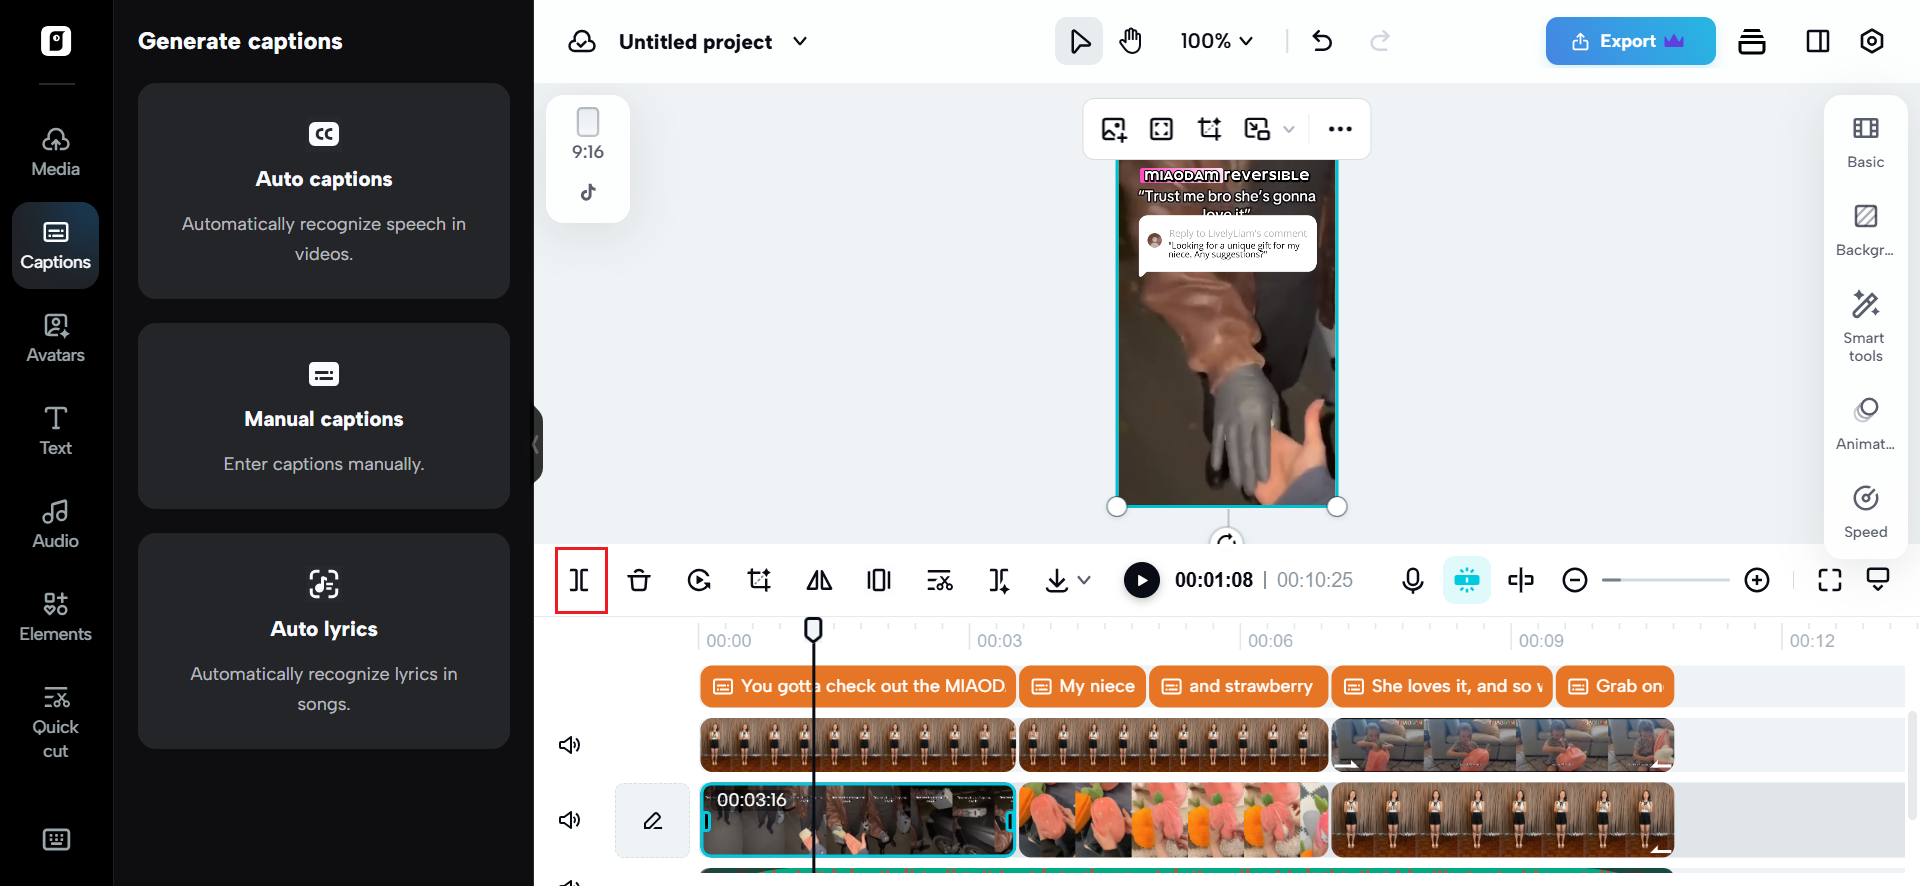
Step 2: Utilize the video trimmer
To trim a video, click on it on the timeline and move the transform handles at the beginning or end. Drag the ‘Playhead to the frame in question, then choose ‘Split‘ to eliminate any extraneous scenes in the centre. After you remove the undesired portion, your movie will be precisely cropped.
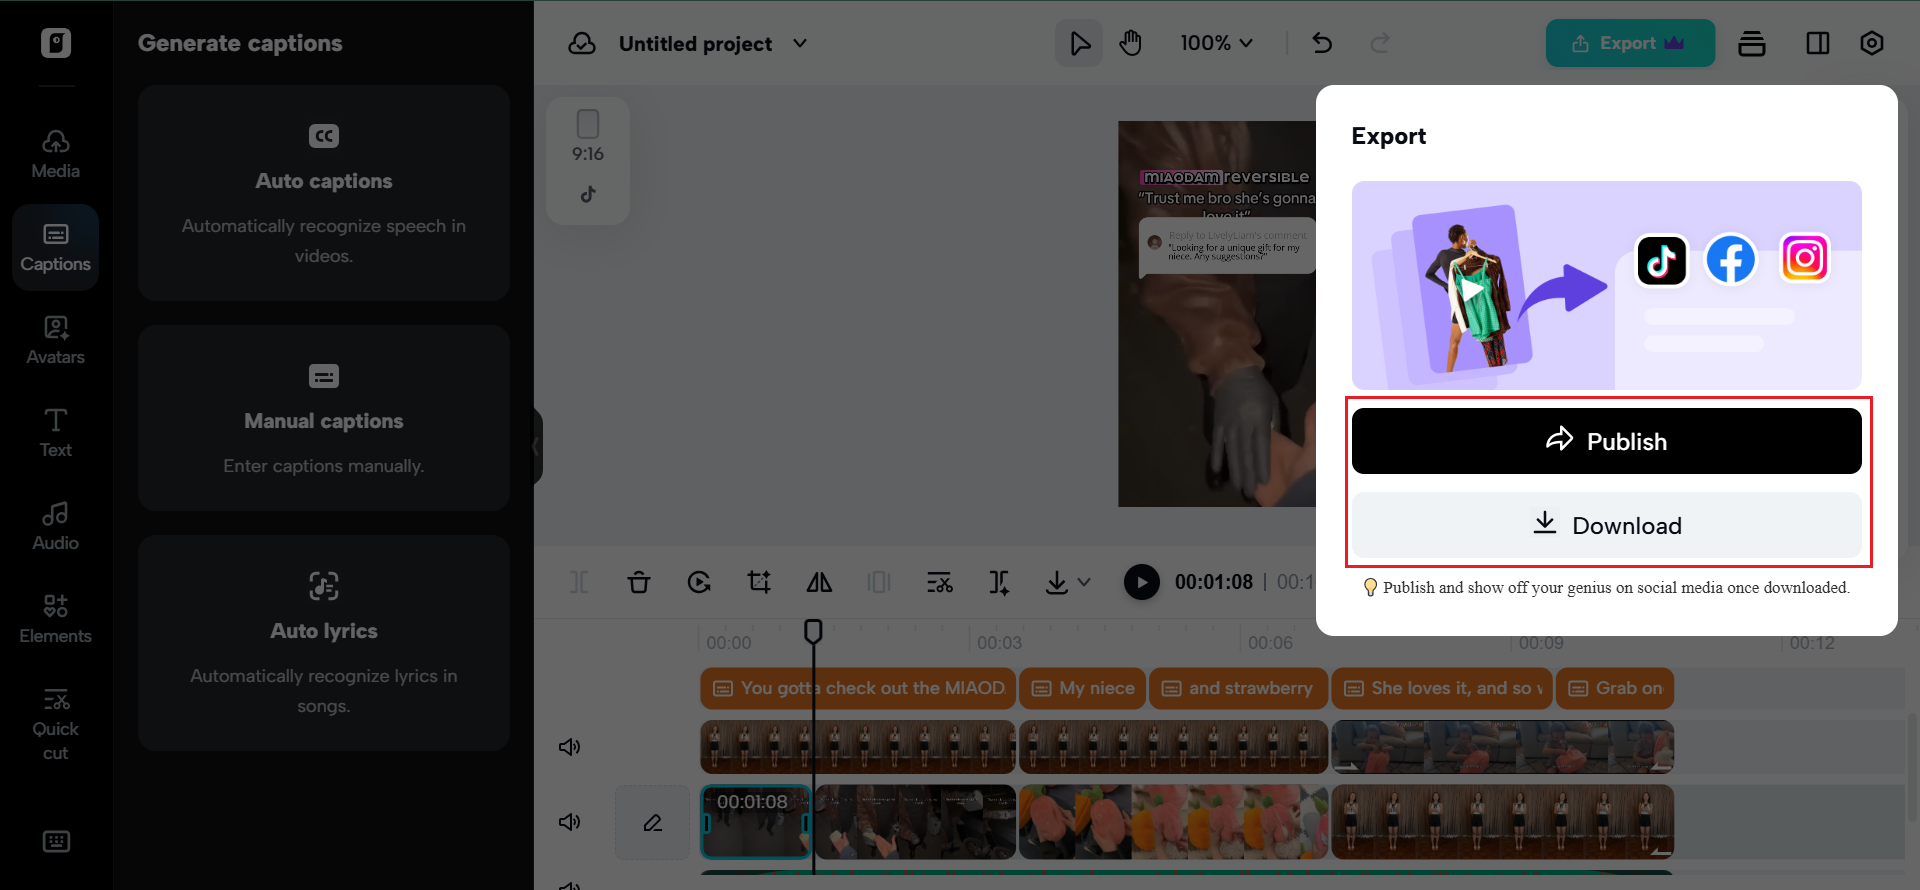
Step 3: Download the edited video
Finally, select ‘Download,’ specify the resolution, format, frame rate, and quality, and click ‘Export‘ in the upper right corner of the editing window to save the video. Otherwise, post the material straight to your social media profiles by clicking ‘Publish‘.
Expert tips: minor adjustments, high engagement
Your reels feel instantly more high-end when you layer and split them creatively. Here are some fast expert ideas to make your adjustments stand out:
- Don’t overtly brand: Put your brand as a watermark in a corner.
- Time an SMS message to your voice: Align your captions with the text; it improves retention and looks professional.
- Avoid going overboard: An excessive number of splits and overlays might become cluttered. Choose one or two stunts each clip.
Makeover your brand reels by “splitting and layering”
Ultimately, effective editing highlights your message rather than obscuring it. Eliminating unnecessary details, incorporating split screens to provide additional context, and using text layers to support your narrative are the keys to success.
The best part? With a smart AI video editor like Pippit, you don’t need years of experience or expensive freelancers to get the look. Just upload, trim, split, layer — and boom, your next Reel is ready to stop thumbs and win fans.
Ready to make your brand videos pop? Try Pippit’s creative editing tools free and turn your raw footage into Reels worth watching on repeat!